
Photography
Grand Canyon photography is less about finding one perfect overlook and more about understanding light, weather and depth. The canyon can look flat at midday, then transform within minutes when low-angle light reveals ridges, temples and side canyons.
Sunrise
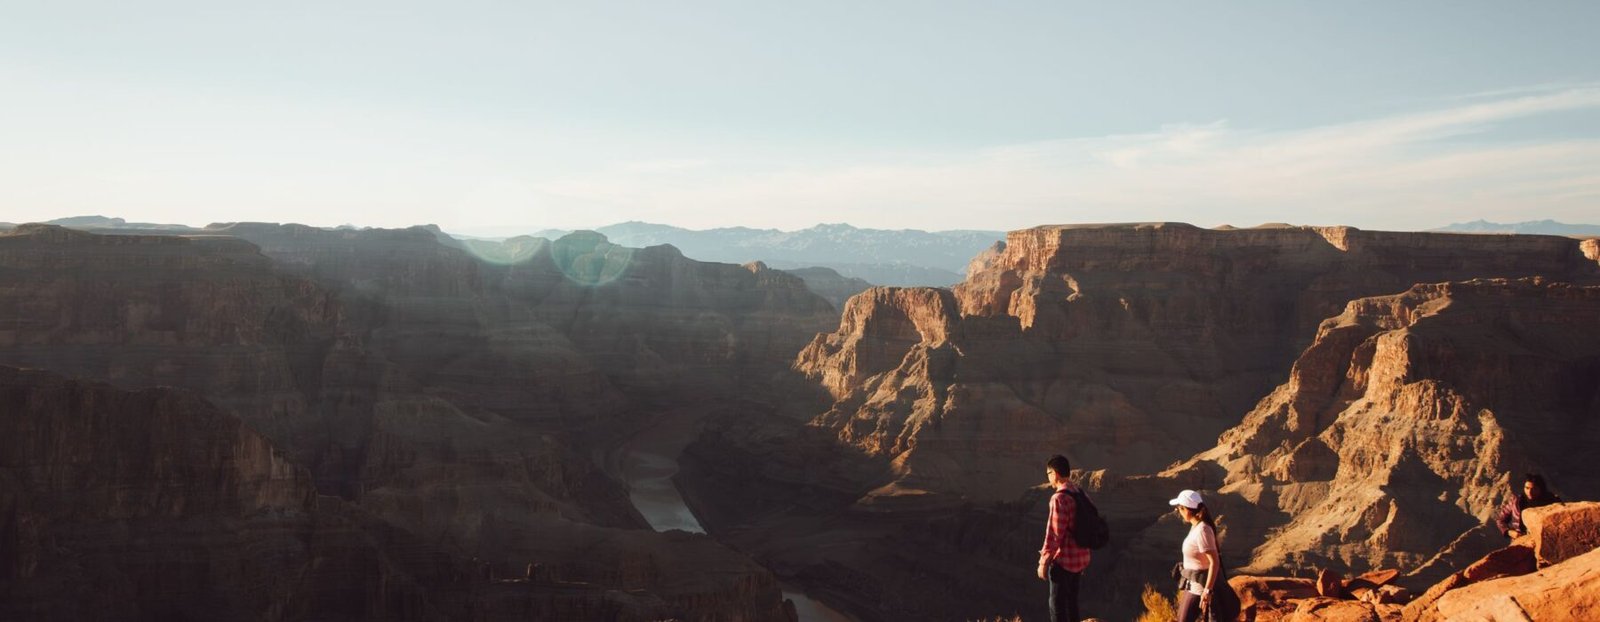
Arrive before first light so you can choose a composition without rushing. Early light often reaches isolated buttes before the canyon floor and produces strong layers of warm and cool color.
Sunset
Stay after the sun disappears. Some of the richest color can occur in the 15–30 minutes after sunset, especially when clouds catch light above the rim.
Storm light
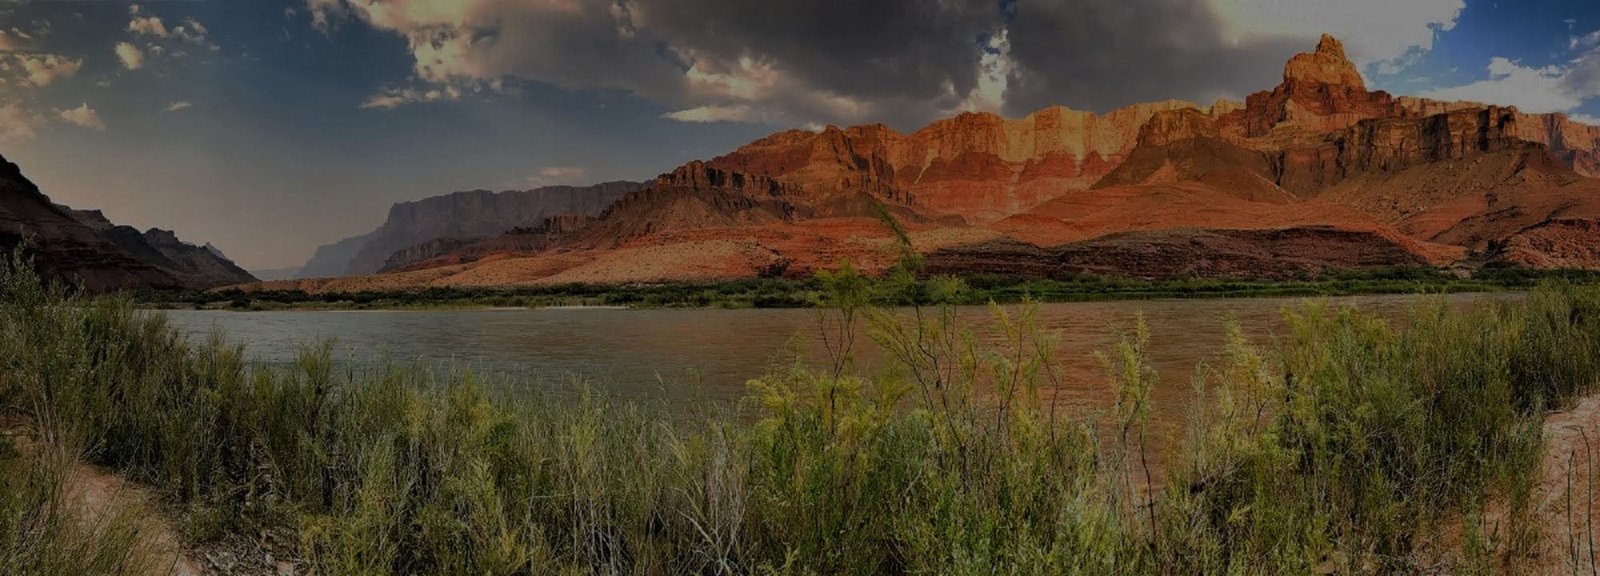
Summer monsoon clouds can create shafts of light, rain curtains and dramatic contrast—but lightning is a serious hazard. Never prioritize a photograph over moving away from exposed rim edges during thunderstorms.
Use the current sun and moon schedule
The National Park Service publishes Grand Canyon-specific sunrise, sunset and moon information for 2026. Use those times to decide when to leave your hotel, whether a moonlit canyon shot is realistic and how long you can safely stay before dark.
Move your feet before changing lenses
A few yards along the rim can radically change foreground, overlap and depth. Look for trees, rock ledges and human-scale elements to create context. Telephoto lenses compress distant ridges. Wider lenses work best when you have a strong foreground rather than simply trying to fit the entire canyon into one frame.
The Milky Way adds a second Grand Canyon
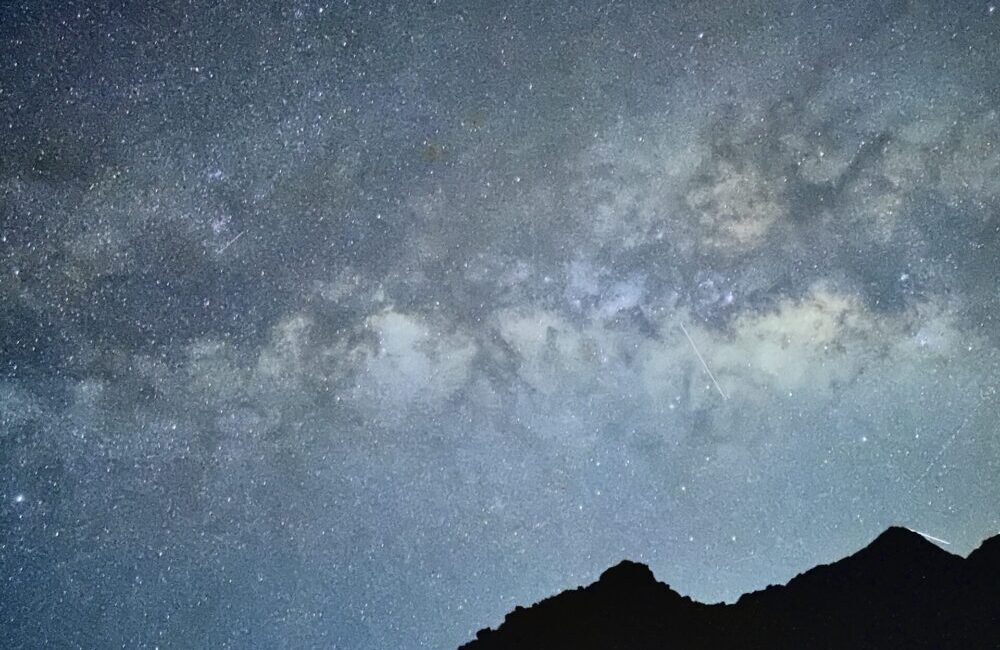
A sturdy tripod, wide-aperture lens and careful focus can reveal far more stars than the eye sees at once. Protect your night vision and other visitors' experience by keeping lights dim. Avoid standing near unguarded rim edges while looking through a screen or viewfinder.
The Photograph Can Wait
Do not back toward an edge for a selfie, climb barriers, stand in roadways or remain exposed during lightning. The canyon will still be there after you move to safety.
Photography Strategy by Time of Day
The most famous viewpoint is not always the best photographic choice. What matters is the direction of light, available foreground, weather and how much time you have to move before conditions change.
Sunrise
Choose a viewpoint with a broad eastern or open canyon view, arrive before first light and compose while the scene is still dim. The best color may begin before the sun clears the horizon.
Clouds & Detail
Hard midday light can flatten broad vistas, but passing clouds, monsoon weather, telephoto details and shaded side canyons can still produce strong images. Use the middle of the day to scout locations for later light.
Sunset & Blue Hour
Do not pack up when the sun disappears. Reflected color, silhouetted ridges and blue-hour contrast can strengthen for 15–30 minutes after sunset, especially when clouds are present.
A Photography Guide Should Teach, Not Just Transport
Most Grand Canyon viewpoints are easy to reach independently. A specialist photography outing becomes worthwhile when the guide helps with light, composition, camera settings, lesser-known locations, night photography or efficient timing—not merely by driving you to the same overlooks you could visit on your own.
Small Things That Save the Shoot
Grand Canyon photography often fails for ordinary reasons: dead batteries in the cold, no headlamp after sunset, wind on a tripod, or arriving without enough time to find a safe composition. A simple field plan matters more than carrying every lens you own.
After-Dark Light
Carry a headlamp or flashlight for the walk back, but preserve night vision and avoid shining bright lights toward other photographers.
Wind & Temperature
A calm afternoon can become windy and cold after sunset. Stabilize tripods carefully and carry layers even when the daytime forecast looks mild.
Backup Location
Weather can block the view you planned. Know a second safe viewpoint nearby rather than spending the best light driving across the rim.